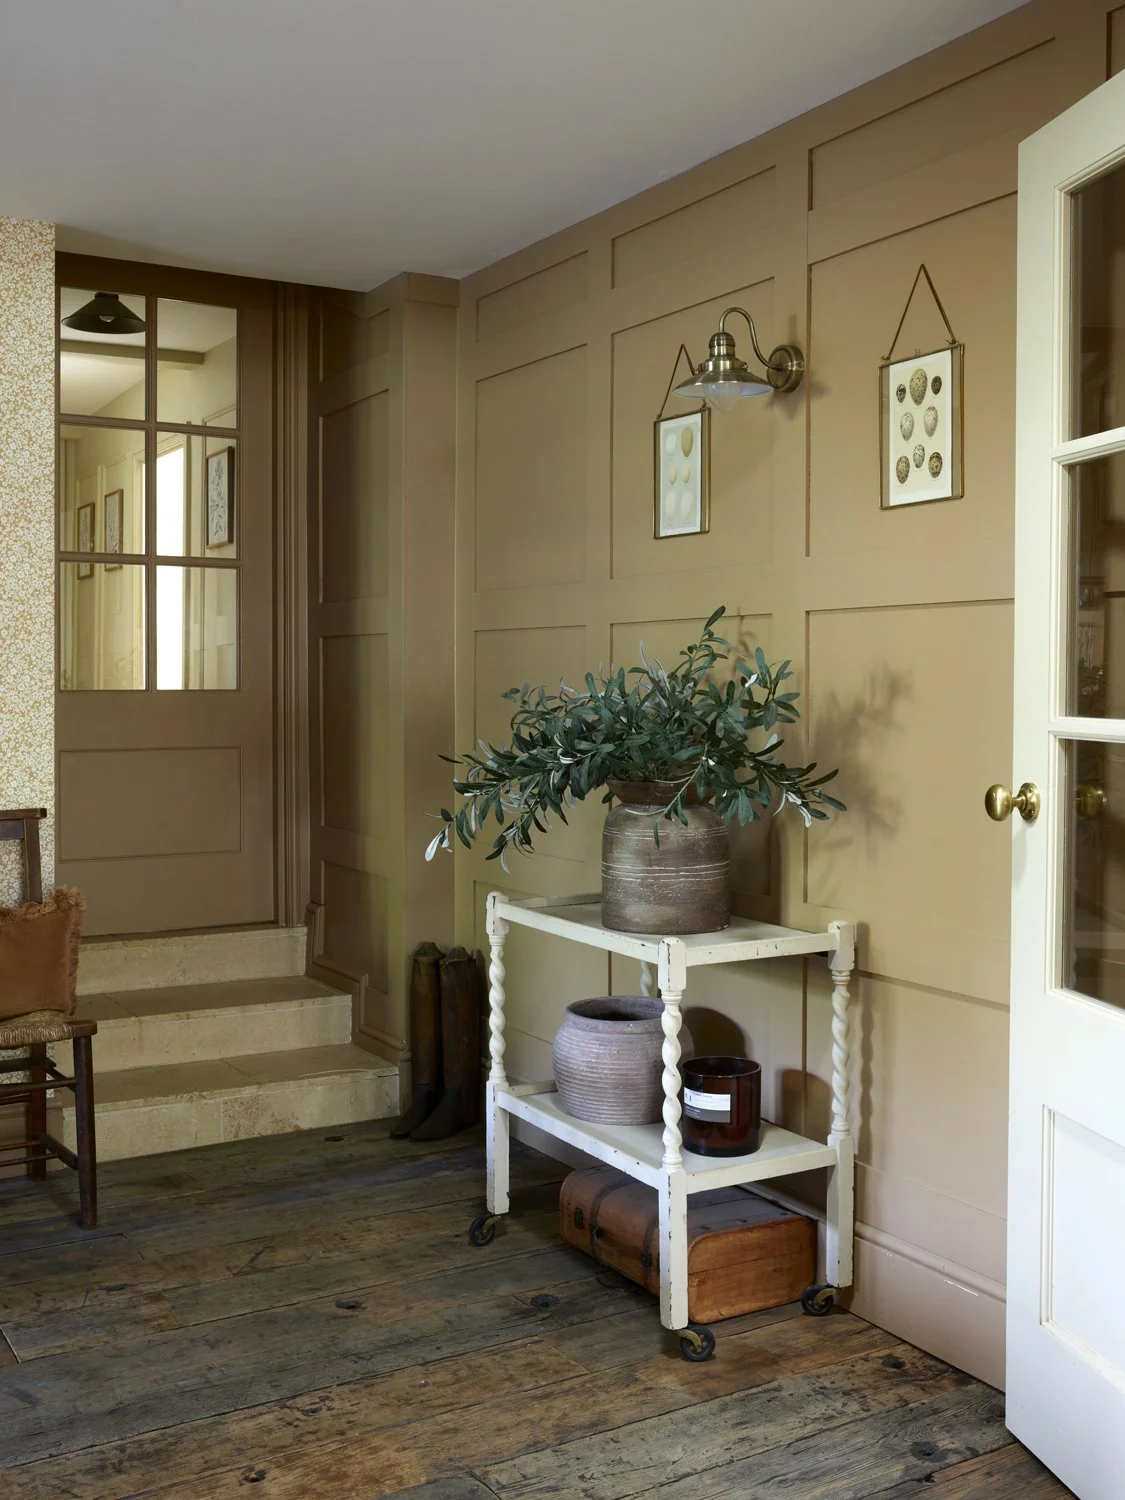
Wall panelling is one of those changes that can completely transform a room without requiring a complete renovation. It can add character to a newer home, bring back detail that may have been lost in an older property, and make a fairly plain room feel much more considered.
But the key is getting the proportions right. Before you buy a single length of moulding, spend a little time planning.
Choose the right style for your room
Before thinking about measurements, decide what type of panelling actually suits the room.
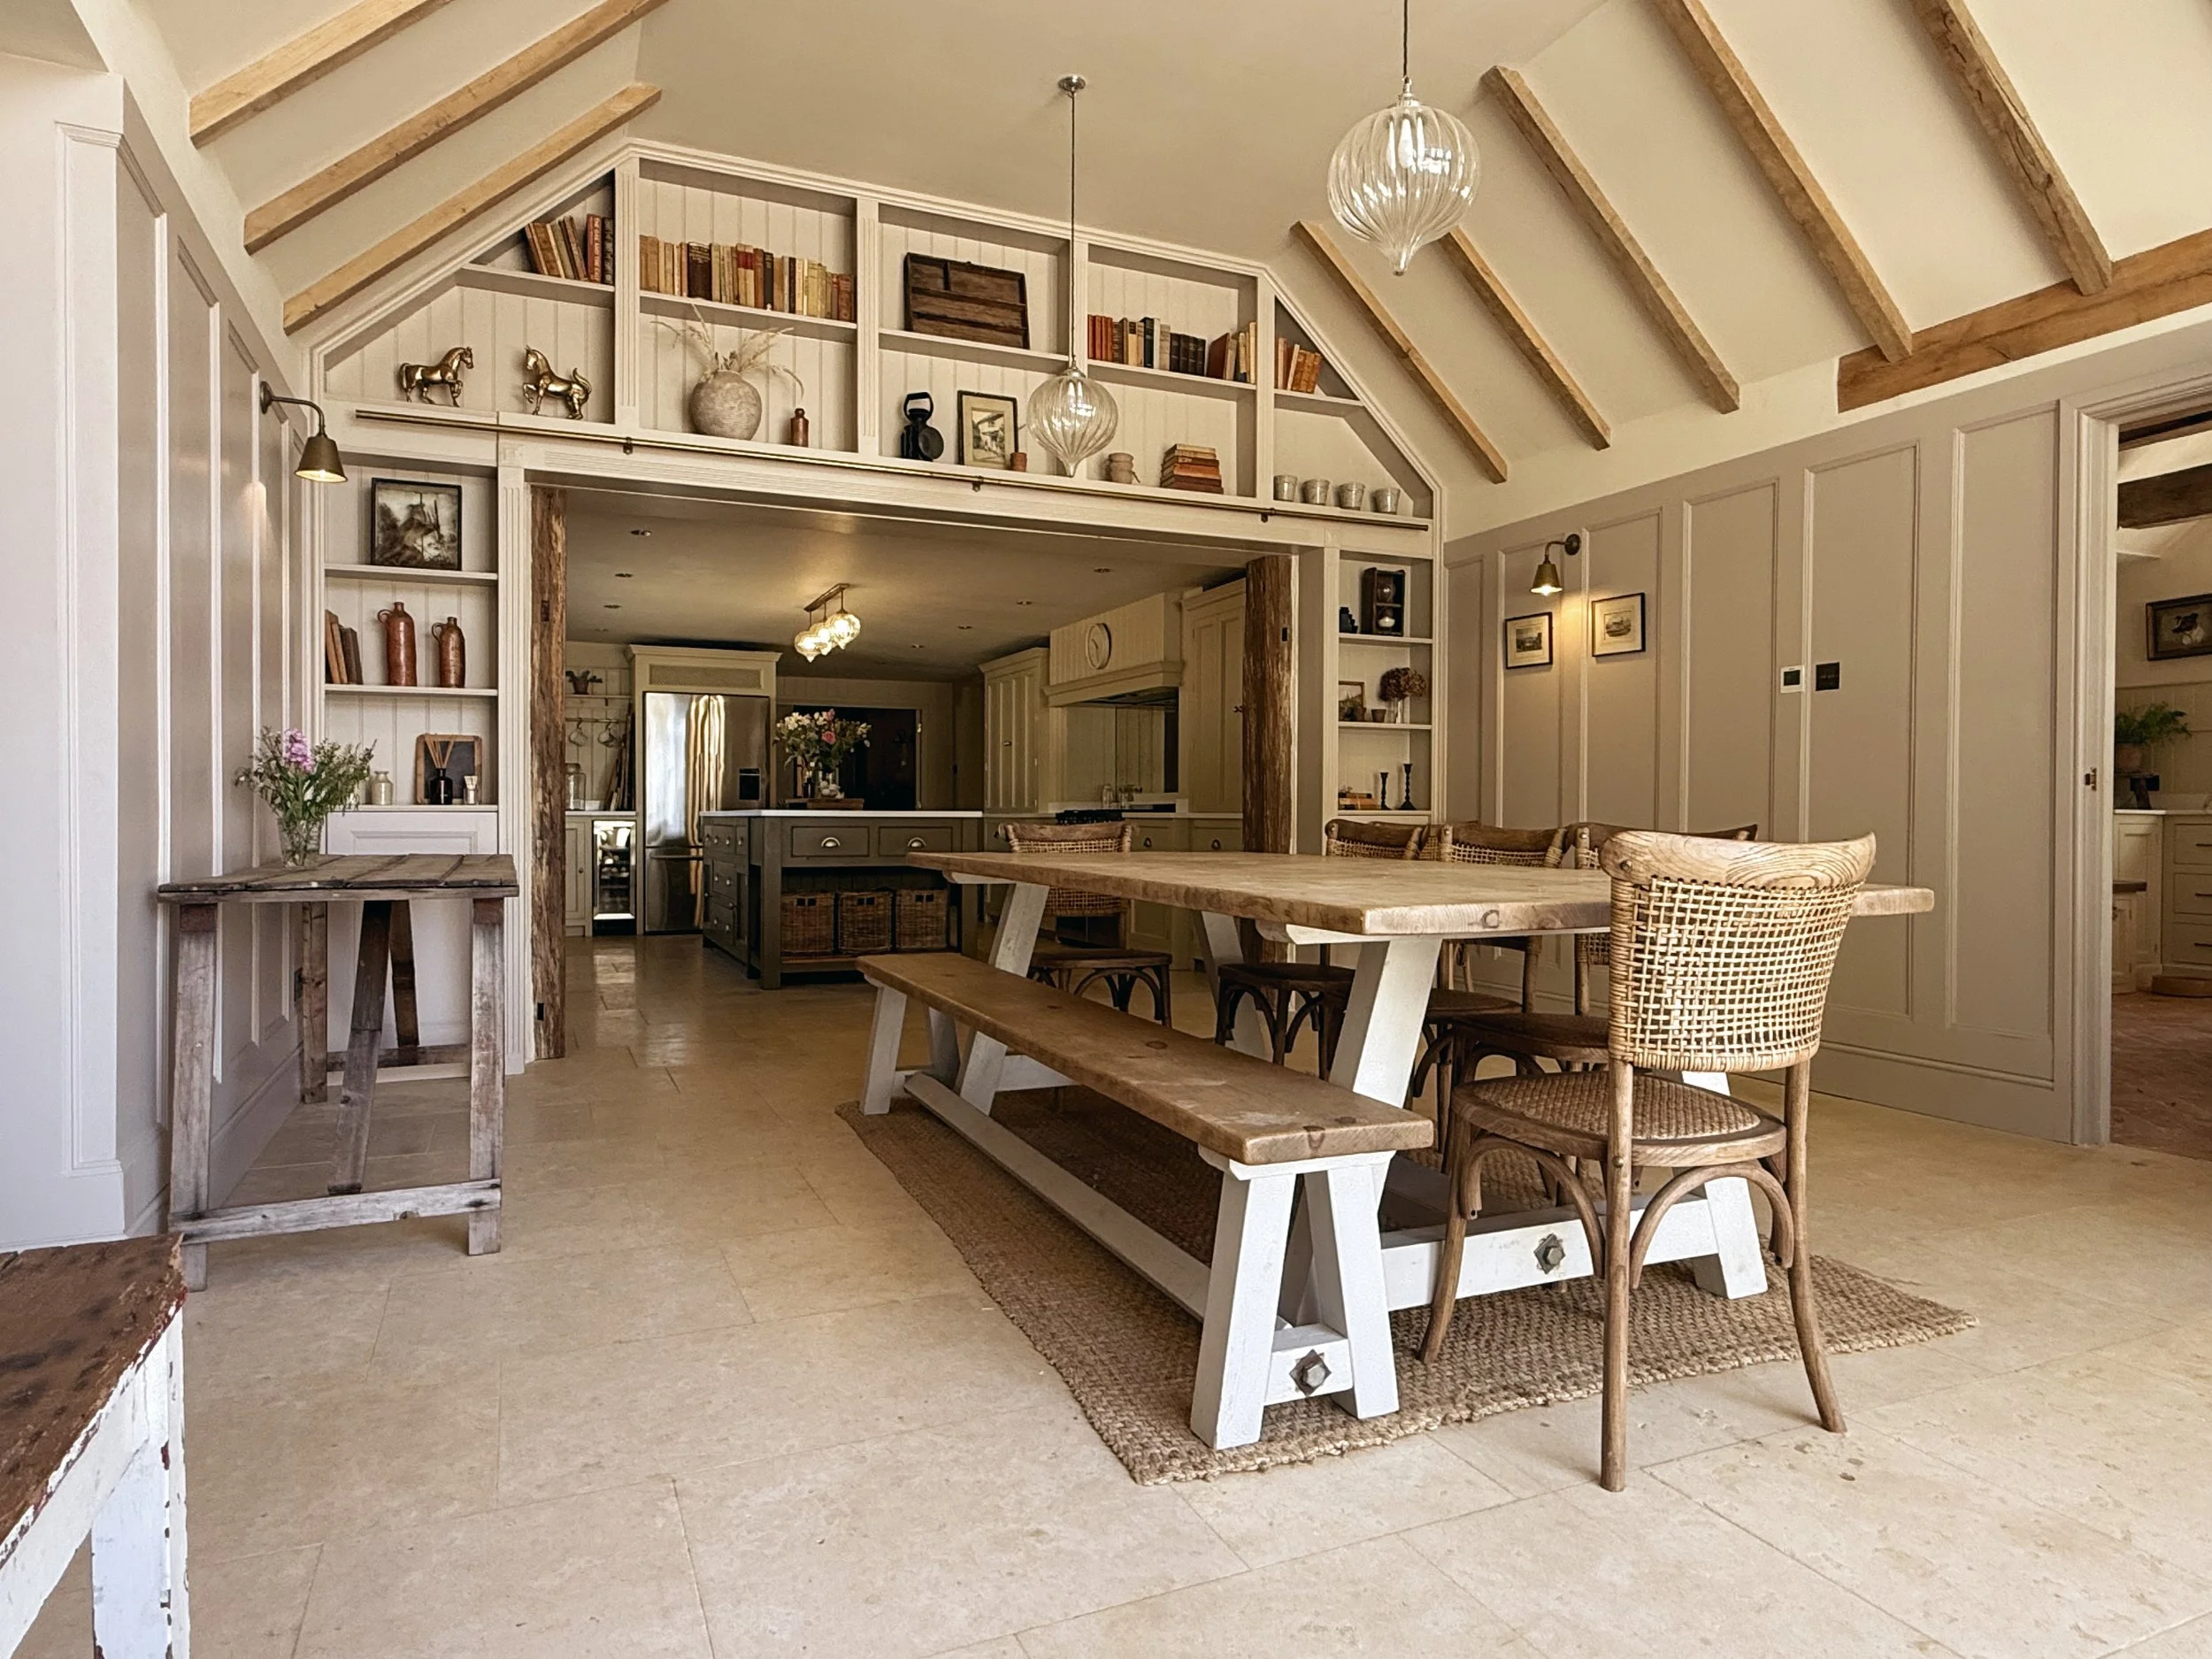
Traditional picture-frame moulding works particularly well in period homes, sitting rooms, dining rooms and bedrooms where you want a little more elegance.
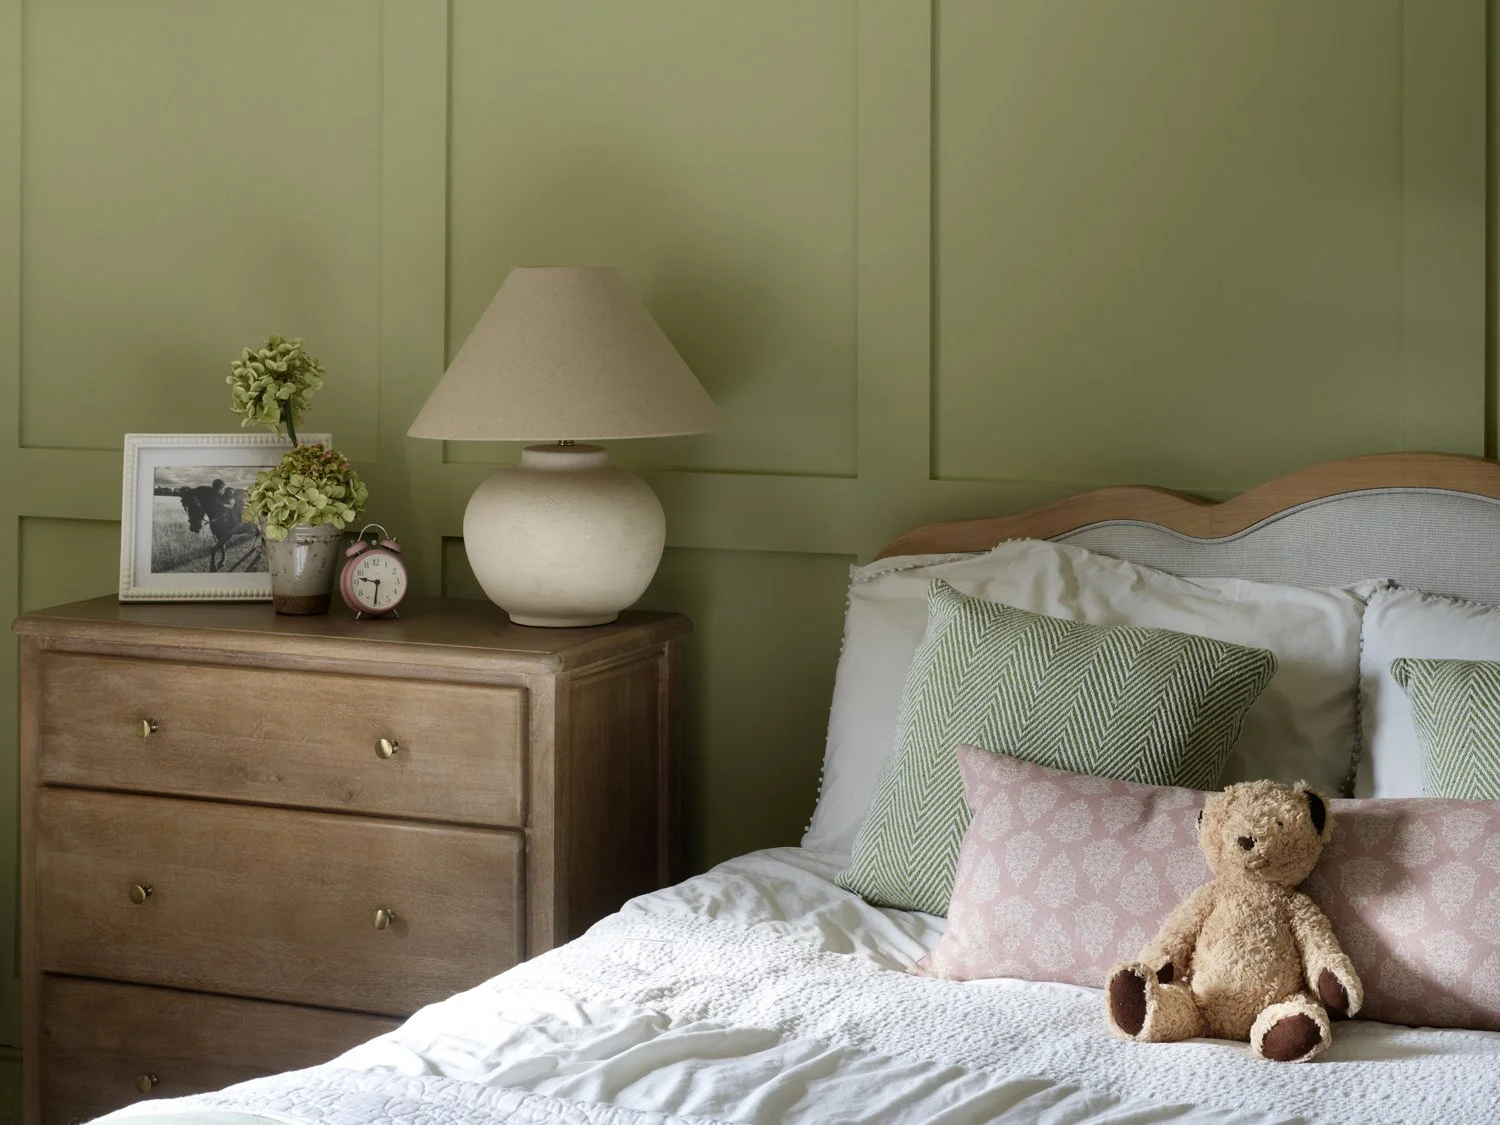
Shaker-style panelling has straighter, simpler lines and works brilliantly in hallways, boot rooms, bedrooms and more contemporary spaces.
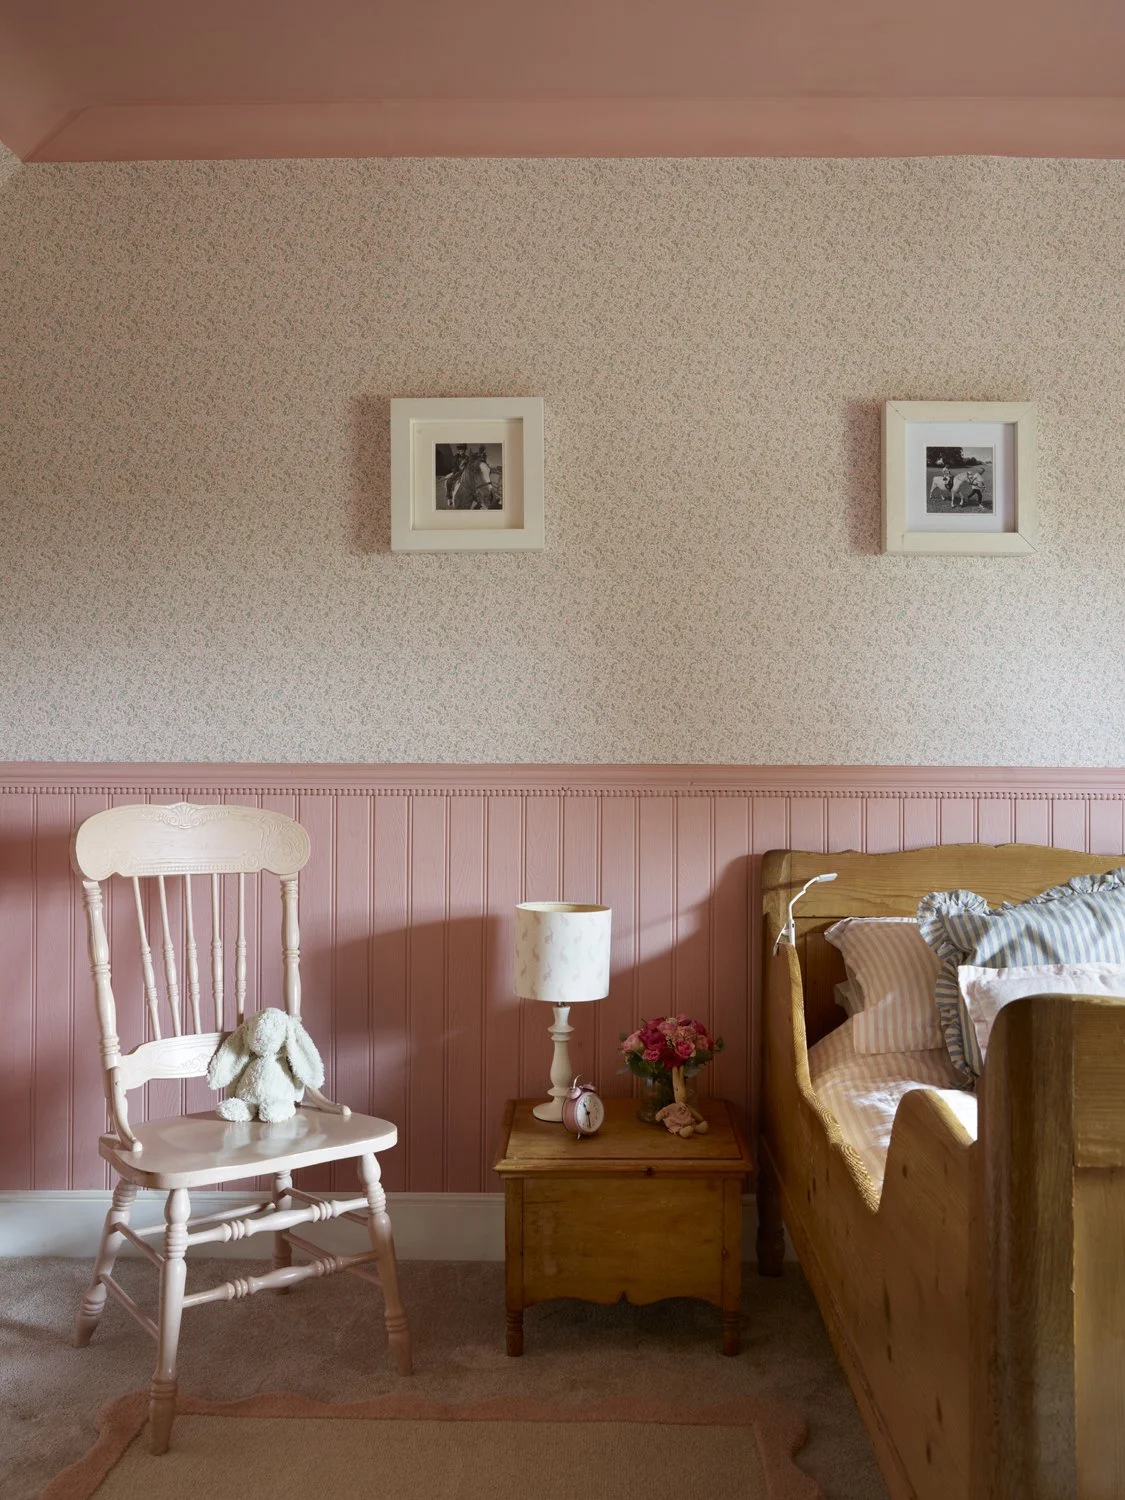
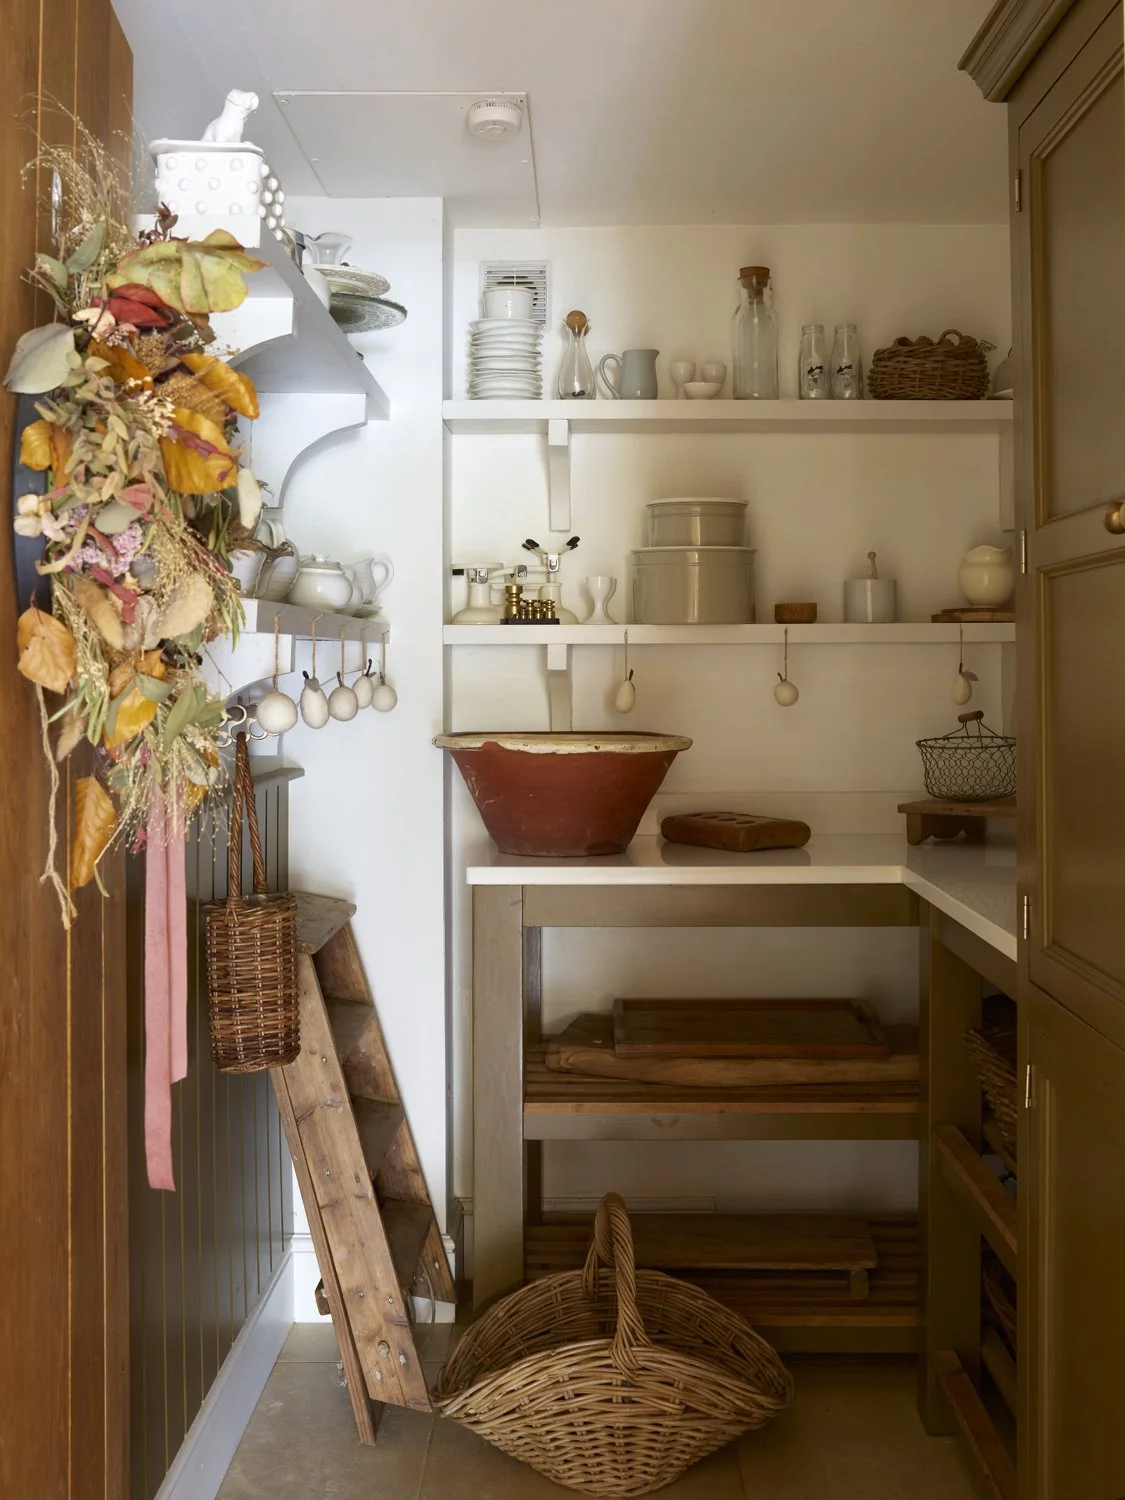
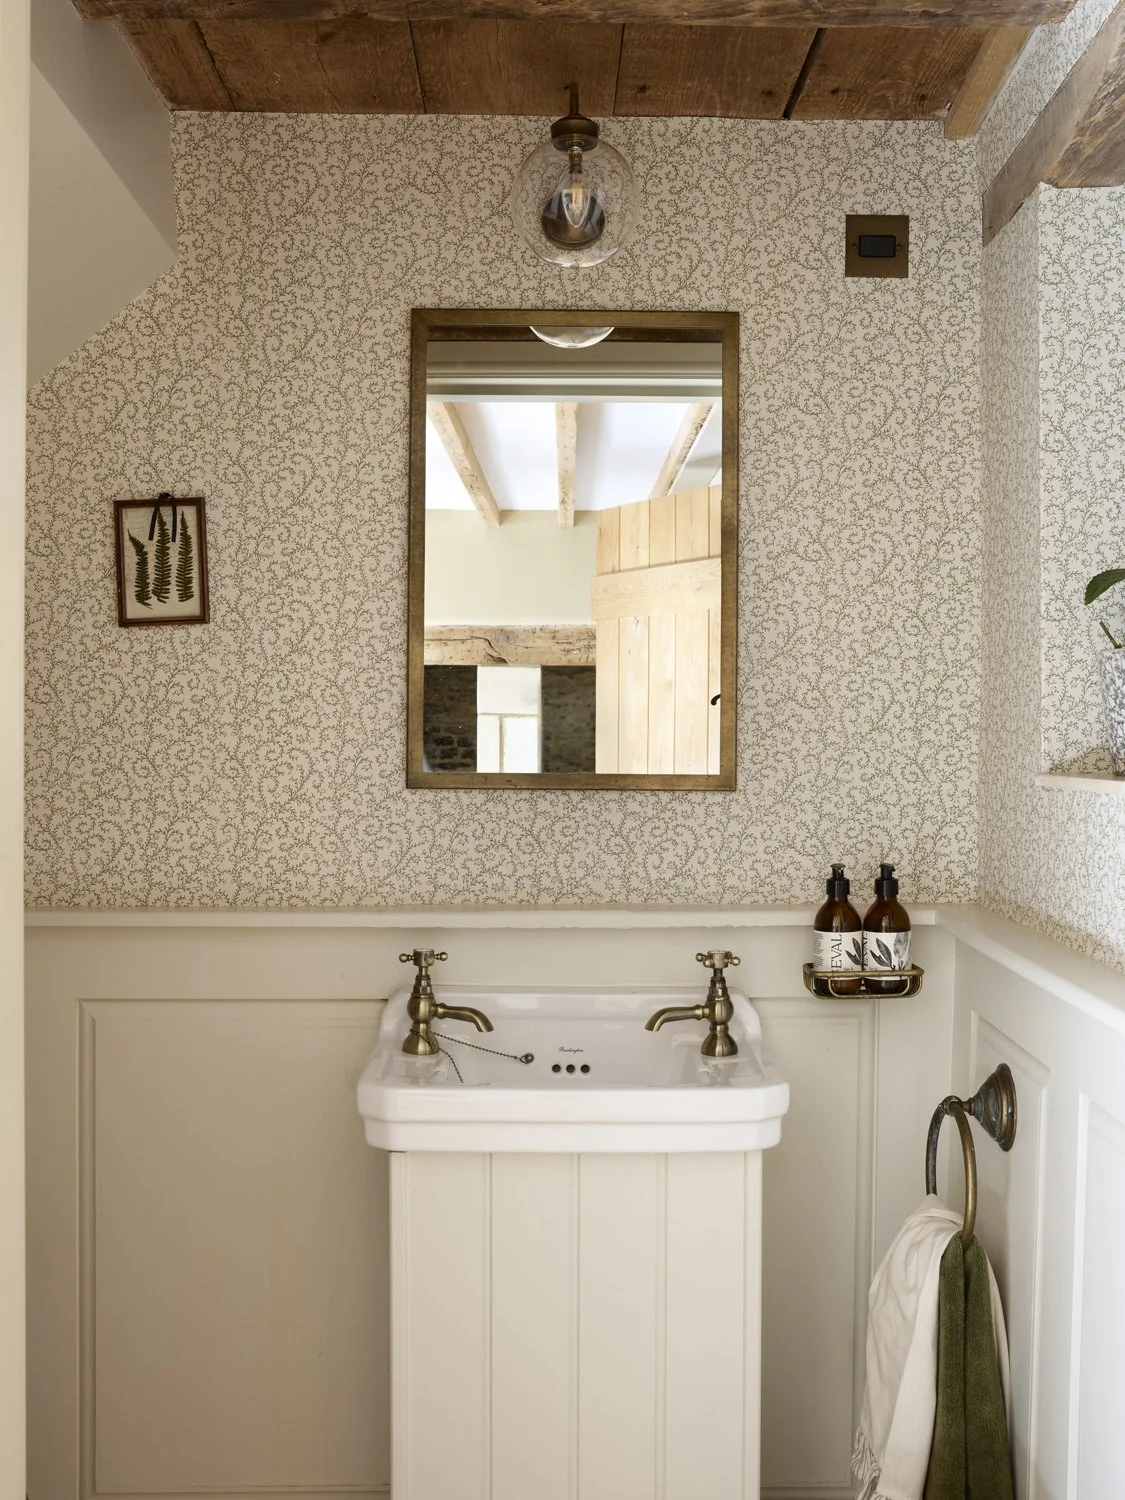
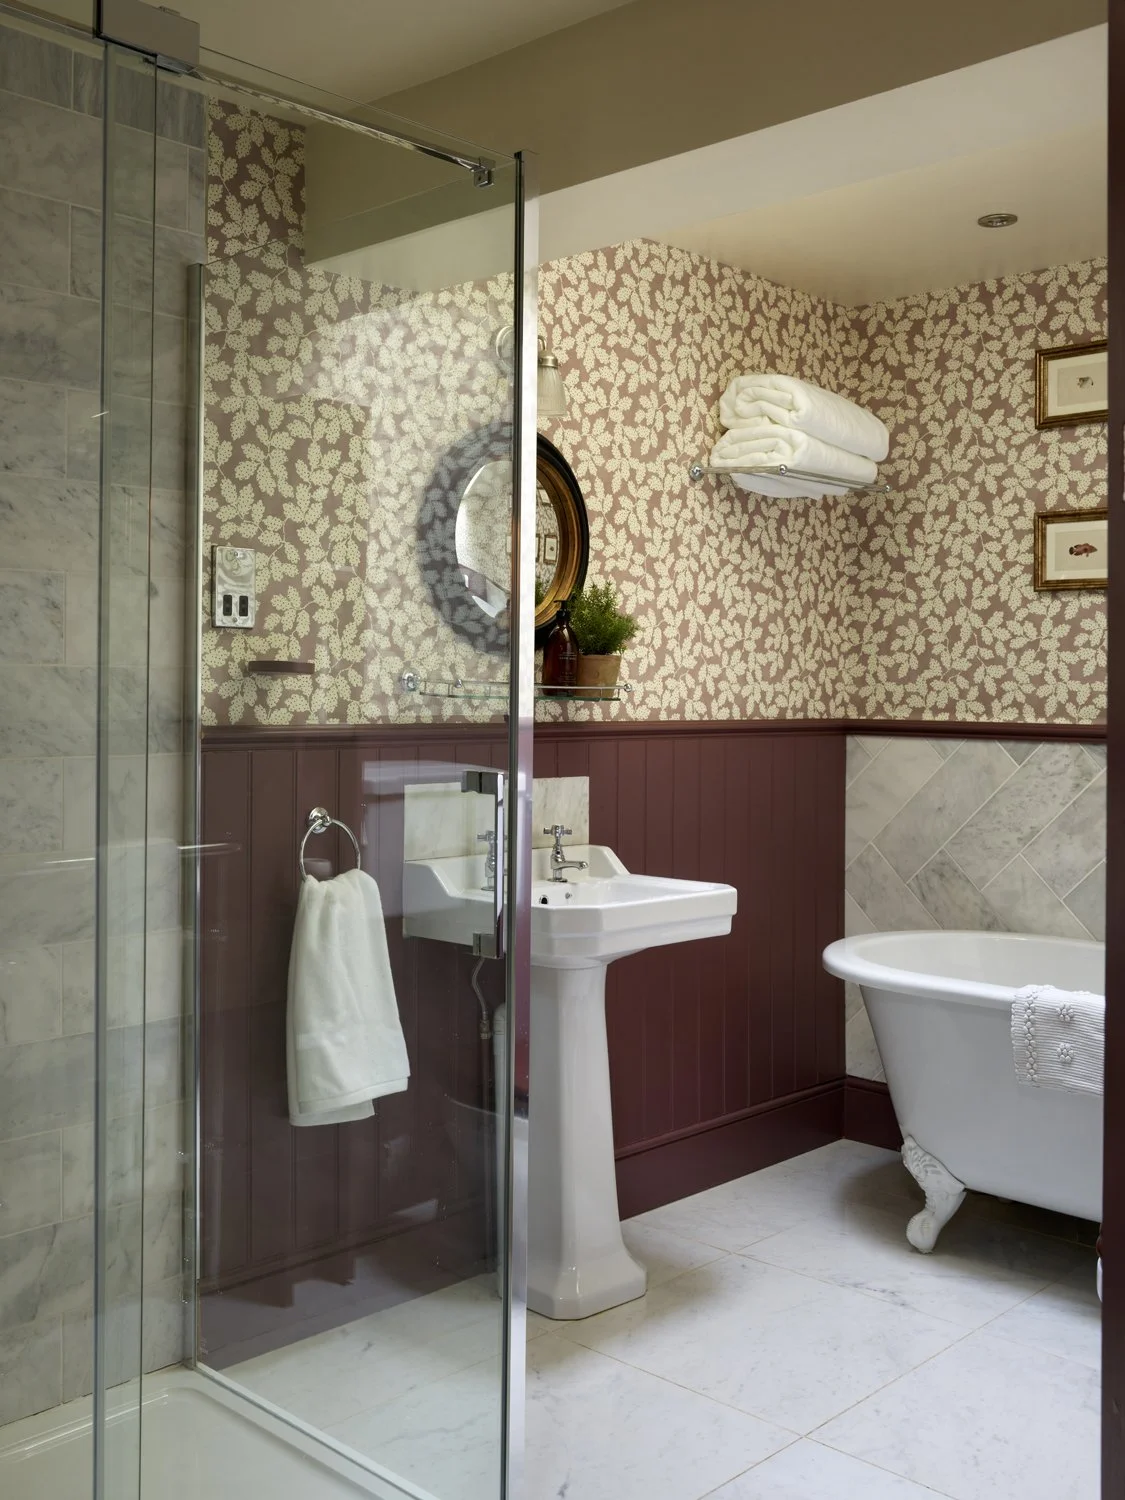
Tongue-and-groove is ideal for bathrooms, utility rooms and relaxed country-style spaces, and is particularly useful where you want something practical as well as decorative.
Look at what your house is already telling you. Door styles, skirting boards, fireplaces, ceiling height and the age of the property are all good clues. The aim is for the panelling to feel as though it belongs there, rather than something that's simply been added because it's fashionable.
Getting the height right
There isn't one perfect height for panelling, so don't automatically measure halfway up the wall and start cutting.
As a useful starting point, try around one third of the total wall height for lower-level panelling. For example, on a 2.4m-high wall, start by looking at approximately 80cm. This isn't a rule — it's simply somewhere sensible to begin.Before fixing anything, mark the proposed height around the room with masking tape. Then stand back and look at how that line relates to your windows, radiators, fireplace, furniture and light switches.
If it looks slightly wrong, move it. Even 5–10cm can make a surprising difference.
For taller panelling, particularly behind a bed or in a room with high ceilings, use the same method. Tape out the full design first and look at it from the doorway as well as from inside the room.
My tip: leave the masking tape up overnight. You'll often see the proportions much more clearly when you walk back into the room the following morning.
Plan around sockets, switches and radiators
Before fixing any moulding, look carefully at everything already on the wall. Sockets, light switches, radiators and wall lights can completely change where your panels need to sit.
Try to avoid having a vertical piece of moulding run directly through a socket or switch. Often, moving the whole layout by just a few centimetres will give you a much neater result.
Do the same with radiators. Rather than planning your panels and then discovering a radiator cuts awkwardly across them, include it in your measurements from the beginning. Sometimes it looks better to centre a panel behind a radiator; in other rooms, it makes more sense to position the vertical lines either side.
Also check where your furniture will sit. There's little point creating a beautifully centred panel if half of it will permanently disappear behind a wardrobe.
Home by Heidi tip: Take a photograph of the bare wall and draw your proposed panel lines over the photo. It’s a really quick way to spot clashes before you start cutting.
Work out your panel spacing before you cut anything
Measure the full width of the wall first, then decide roughly how many panels will look right. Don’t start at one end and simply repeat a measurement — that’s how you end up with an awkward skinny panel at the other end.
Remember that the moulding itself takes up space. Decide on the width of your moulding and the gaps you want between each panel, then work backwards from the total wall width.
For example, on a 4m-wide wall, sketch out four panels first, including the gaps between them and the margins at either end. Your end margins should look balanced, but the panels themselves don’t have to be perfectly square.
Home by Heidi tip: Mark every vertical line with masking tape before you cut anything. Stand back at the doorway and look at the whole wall. Moving a strip of tape 5cm is considerably easier than removing glued-on moulding!
What you’ll actually need
You don’t need an enormous toolkit to add simple wall panelling, but having the right things before you start makes the job much easier.
For straightforward decorative panelling, you’ll usually need moulding or MDF strips, a tape measure, pencil, spirit level, mitre saw or mitre box, grab adhesive, caulk, filler and sandpaper. You’ll also need primer if your moulding isn’t already primed, followed by your chosen paint.
MDF moulding is a good option for most painted panelling. It’s relatively inexpensive, smooth and easy to paint. Timber moulding can be lovely, particularly if you want a more traditional or detailed profile, but it can cost more and may need a little more preparation.
For picture-frame panelling, a mitre saw or mitre box will help you create neat 45-degree corners. Measure each piece individually rather than assuming every rectangle is identical — walls and floors are very rarely perfectly straight.
Use a good-quality grab adhesive to fix the moulding to the wall, checking each piece with a spirit level as you go. Once everything is secure, fill any nail holes or imperfect joins and use decorator’s caulk along the tiny gaps between the moulding and wall.
Home by Heidi tip: Don’t judge it halfway through. Panelling can look surprisingly unimpressive when it’s first attached. The filling, caulking, sanding and painting are what turn a collection of strips into something that looks like part of the room.
The finishing is what makes it look built-in
Once the moulding is fixed, resist the temptation to reach for the paintbrush straight away. The preparation at this stage is what makes the difference between panelling that looks professionally fitted and panelling that looks added on.
Fill any nail holes and imperfect joins, then lightly sand them smooth. Use decorator’s caulk along the edges where the moulding meets the wall to disguise tiny gaps. Allow everything to dry properly before priming any bare MDF or timber.
For a seamless finish, paint the wall and panelling in the same colour and finish. Start with the detailed edges and corners using a brush, then use a small roller over the flatter areas to avoid obvious brush marks.
Don’t forget the skirting board. Painting the skirting, panelling and wall together can create a really cohesive, architectural look, particularly when you’re using a stronger colour.
Home by Heidi tip: Check the wall from the side while the first coat is drying. Daylight will often reveal a join, dent or line of filler you couldn’t see straight-on. Fix it before the final coat — you’ll notice it forever otherwise!
Five panelling mistakes to avoid
1. Starting without taping it out first
A measurement can look perfect on paper and completely wrong once it’s on the wall. Masking tape is your friend — use plenty of it.
2. Making every panel the same size regardless of the room
Good panelling is about balance, not identical rectangles. Doors, windows, fireplaces and corners may mean you need to adjust individual panels slightly.
3. Forgetting about the skirting board
Check that your chosen moulding sits neatly with the profile and depth of your existing skirting. A chunky strip finishing awkwardly on top of a narrow skirting board will immediately look added on.
4. Rushing the filling and caulking
This is probably the least exciting part of the job, but one of the most important. Tiny gaps and visible joins become much more obvious once everything is painted.
5. Choosing the design before considering the house
The panelling you love in someone else’s home may not be right for yours. Take your cues from the proportions, age and existing details of the property.
Home by Heidi tip: If you’re undecided between two layouts, tape out both and photograph them. Looking at the room through a photograph often makes the better option surprisingly obvious.
A little planning makes all the difference
Panelling is a relatively simple way to completely change the feel of a room, but the best results come from taking your time before you start. Plan it, tape it out, stand back and tweak it until it feels right. Get the proportions right first and the rest becomes much easier.
And if you love the idea of panelling but aren’t quite sure what style, height or layout would work in your own home, Home by Heidi can help you work through the details and create a scheme that feels right for your space.
Heidi x